
Fitting the New Carpet Kit
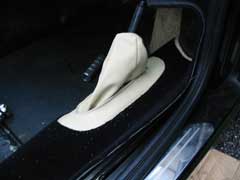
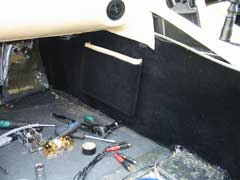
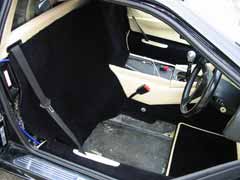
Unfortunately we didn't get any pictures of the kit before it was fitted. It was sort of started in bits and done over a few weeks, so it was started before we remembered to get any pictures. The kit was laid out to get an idea of what went where. There's one large piece for the firewall, 2x for the sills (including leather trim for handbrake and seatbelts). 2x transmission tunnel (including map pocket). 2x squares for under seats. 2x mats. 2x wheel arch (including protection strips). 2x footwell pieces (including pedal stop).The kit also included 2x squares, which weren't used.

You'll need to remove the seatbelts at both sides to fit the carpet. LEW started with the drivers side sill. Position the leather inserts first to get an idea of where the carpet needs to fit. The carpet is oversize and will need to be trimmed, so you can't start at one end and work forward. You need to work out certain points (like the seatbelts) and work from there.
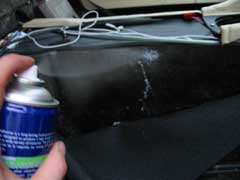
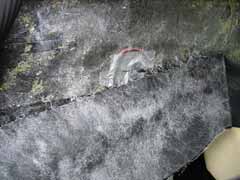
Once you've position the carpet, you can start using the glue, spraying both surfaces with the spray and waiting a few minutes till it's sticky. Then you can push them together and then adjust slightly to fit before smoothing the air out. The glue used dry's pretty quick, but does allow you to adjust the carpet. If it's been positioned wrong, it's easy to pull up and start again. This does mean that the carpet isn't stuck really well, so we used some of the fixings points to give a stronger hold.
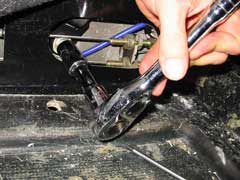
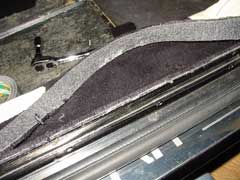
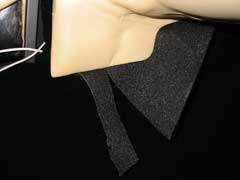
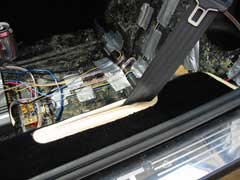
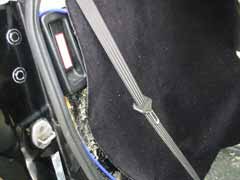
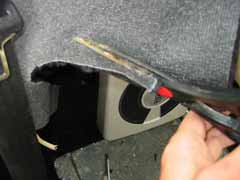
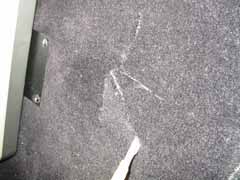
The picture on the left shows where we cut the carpet to allow it to feed up inside the trim under the dash, just above where the handbrake is. This will need doing in a few places to help the carpet fit properly. You'll also see there's a flap for the handbrake adjustment is, so don't glue there! Next after the drivers side sill has been glued, you'll need to trim the excess off with a sharpe knife or scalpel.
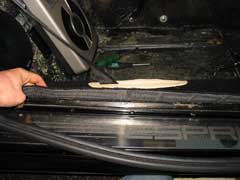

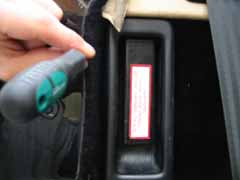
Once the carpet is trimmed, you just need to replace the rubber seal. This just pushes on and will bite over the new carpet. Now one sill is done there's only another 11 pieces to go!
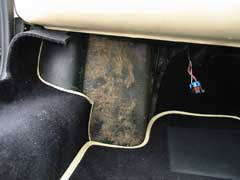
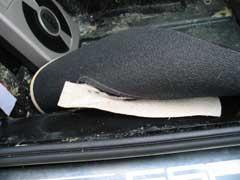
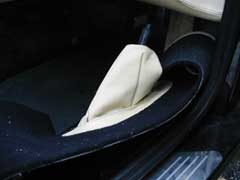
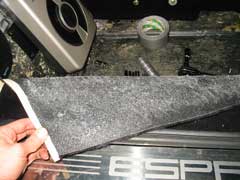
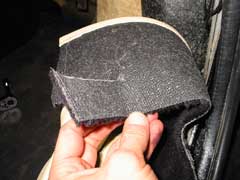
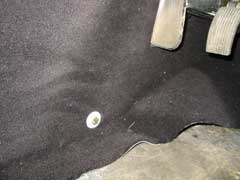
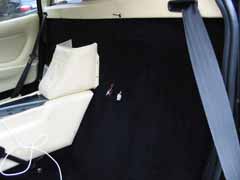
You can see the excess carpet on the passenger side sill that is pushed up into the trim. This helps to secure the carpet as well as making it easy to trim. Centre pic shows the square that goes under the seats. Tape has been used over the holes that need to be made for the seat fixings. This helps to stop the carpet splitting and protects the holes. We used a screwdriver to make the holes after the tape was placed.
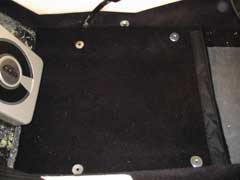
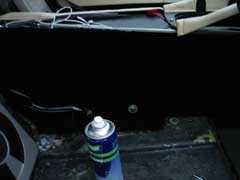
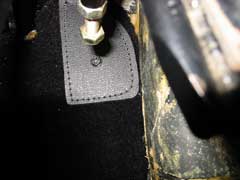
We placed the washers on the carpet rather than underneath, which again is done to help protect the carpet. As you can imagine, this is the easiest piece to fit. Next is the transmission tunnel carpet. This is a little tricky, but using the seatbelt fixings as a starting point, it's not too bad.
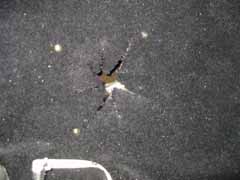
This is the actual gluing. Spraying both surfaces leaves a spiders web effect. You can see in the pic on the right and below left, than we decided to leave the fixing bolts outside the carpet. This helped with fitting the carpet as they were used as fixing points. These were fixed before gluing to make sure there's no movement when gluing (if that makes any sense).
You can also see more cuts that have been made to fit the carpet up into the trim. With the soundproofing removed the carpet fits really tight without any creases.
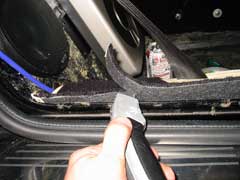
You can see above the passenger tunnel being trimmed. The map pocket isn't any more difficult to fit than the other side. You do need to trim the extra off, but it's easier than elsewhere as the trim covers a large part of the carpet, so you don't need to be as accurate.
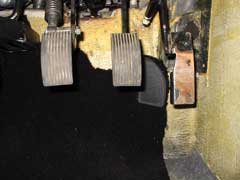

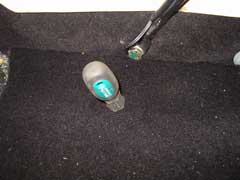
The drivers footwell is obviously more difficult than the passengers side. Start with fixing the pedal stop (one screw) to give you a starting point. You can then glue the carpet in place. You won't get a perfect spread of glue doing it this way, but it makes sure it's in the right place. The pic on the right is the foot rest, this is on the tranny tunnel piece and has to bolts than need to have holes made for them in the carpet. You'll know all about this by now, as you'd of removed to to remove the old carpet.
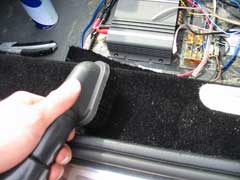
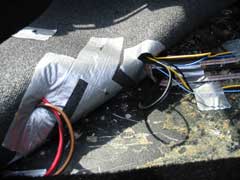
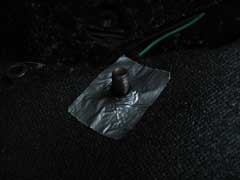
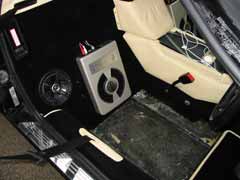
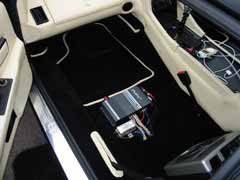
The carpet was hovered as we went along, as it does molt a bit. You can see the seatbelt trim on the passenger side in the middle picture. The belt has actually been put on wrong, as it should be twisted. The pic on the right is the tape under the seat carpet for the amp install.
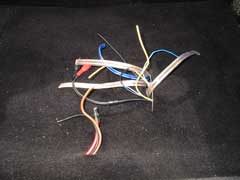
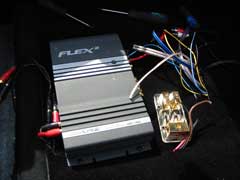
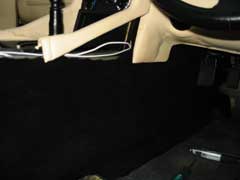
Wiring for the install coming through the carpet and the amp before wiring up. Pic on the right is the firewall carpet just laid in place before fitting. The carpet for the drivers side hasn't been glued and will just be held in place by the bolts of the seat.

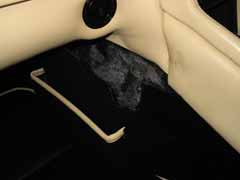
The firewall carpet is the hardest piece to fit as it contains two speakers and the boot release. After lining up the carpet we fixed the screws for the central pocket to make sure the carpet is in the right place. We also screwed in the speaker screws before making the cut for the boot release.

Once the cut is made, you can then trim it up to fit the lever. The carpet will fit under the trim, so don't trim too much off. Use a small screwdriver to feed the carpet under the trim. This is a tricky part of the fitting, so be careful and only trim off small amounts at a time.

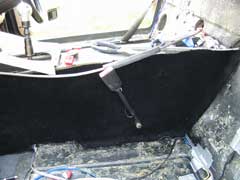
You'll need to trim around the door, as you did with the sills. The bottom also needed trimming where it goes under the sill carpet. The speaker is also fitted to help fix the carpet, as it hasn't been glued. The carpet doesn't need much glue as it is held in place a so many points, lever, speakers, window trim and centre pocket.
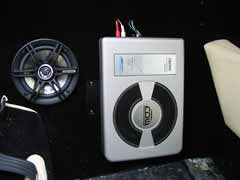

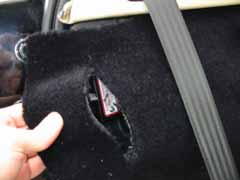
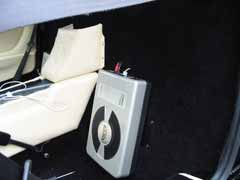
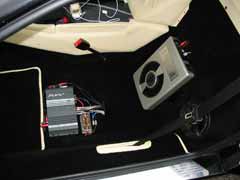
LEW also fitted some Clarion bass boxes during the install, which also helped fix the carpet. The carpet was only glued at the top as it was fixed firmly at the bottom by the speakers and box. Your fitting may need more glue than LEW's. The carpet also needs to be cut around the seatbelt. The cut shown is the first, it was cut twice after this and was a much larger chunk cut out.
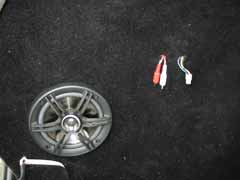
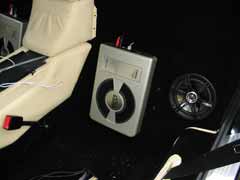
For the speaker holes, we fixed the screws and then using a very shape knife to split the carpet from the middle of the hole to the outside. Eight cuts were made so the carpet could be folded in and the speaker can sit on the carpet.
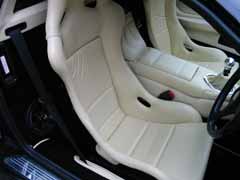
The carpets have been fitted now. This pictures show the passenger side without the seat. Looks great! More info on the bass install soon! It's a fairly simple install, doesn't take up much space, sounds good and isn't too expensive.
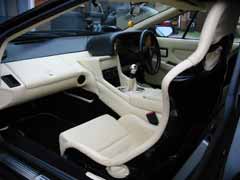
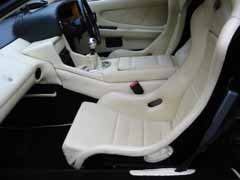
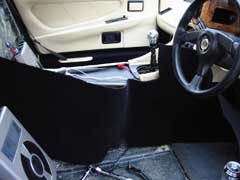
Now with the seats back in! Looks beautiful to me. Love the darkness of the carpet against the light leather. Much better than the old colour carpets! Why didn't they use black in the first place?
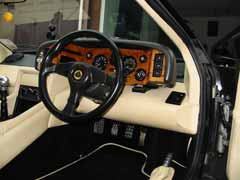
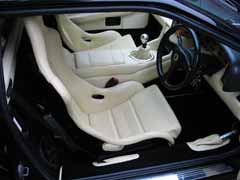
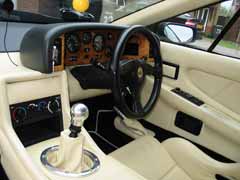
A few more pictures of the finished interior of LEW's Esprit. Most parts have now been replaced, so it's looking almost new. Some of the leather is looking a little worn, especially the door trim, but it's not too noticeable.
LEW's Verdict
LEW's Verdict on the carpet install is that it makes a massive difference to the interior of an older car. With the colour change as well, it's made the interior look great. Price wise it's not too bad, £240 ish for the kit and about £8 for the glue. I supposed it all depends if it's worth it or not depending on the state of your carpets. LEW's were not good, so it was well worth it. As for the actual fitting. Its not difficult, it's just hard work and takes a long time. So you have all the info, it's up to you now, but LEW's very happy with the results.
If you try this, feel free to e-mail us with your Verdict at admin@lotusespritworld.com
July 2013
After having read this excellent LEW article and plucked up the courage to do the carpets as well as all of the interior leather, I ordered a top of the range carpet set from Coverdale. Even though they clearly state that the lead time is 2-3 weeks, it seems a long time when you just want to get going and in fact, because there was some back and forth discussion and postage regarding the use of colour coded offcuts of leather for the seatbelt slots and handbrake gaiter, it was over 4 weeks by the time they arrived.
My job was made a little easier than the LEW experience above due to all of the leather having been removed prior to the carpet fitting (including the dash) but I wouldn't recommend doing this if you're only replacing carpets!
Some of the more difficult bits I found were:
1. Removing the carpet around the wheel arches as the underlay is not the same as the spongy stuff under the mats but a kind of horse hair looking material, which when ripped (because of the glue sticking the carpet to it) leaves a very un-adhesive surface. I had to use LOTS of spray glue on both the underlay and carpet back to get the new carpet to stick.
2. Trimming at the sill edges when're the carpet meets the lower edge of the door seal rubbers was tricky to get right. There's very little room for error.
3. Saving the best to last, I decided to remove the tailgate lever so that the carpet would fit easily behind it. You have to do that by disconnecting the cable inside the boot and removing the quarter panel in the engine bay behind the driver's seat to get at the single bolt holding the lever in place. But, and this is the most important point, DO NOT SHUT the tailgate when the cable is not connected!!! Force of habit meant I did exactly this and I had to drill two 3" holes in the body behind the rear number plate to release the catch with my hand :-(
The result is more than worth the hassle.
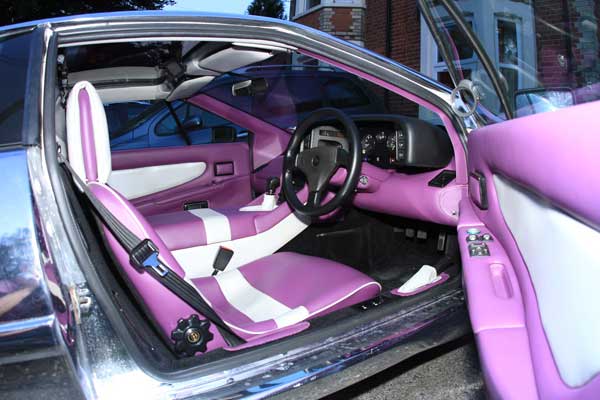
I'll post some more pictures of the interior at the dedicated site for this car at http://ChromeLotusEsprit.com
Jamie.
![]()
|
|