
Chargecooler Removal
And rubber mount replacement
This guide will show you how to remove the chargecooler from the engine and fix a broken mounting bolt. It doesn't show you how to remove the hoses from the radiators that carry the water through the system. That is easy to do, although bleeding it again isn't. We ended up removing the chargecooler for two reasons. One was to replace the mounting bolt that had snapped and the second was to get at a valve easier when replacing it for our crankcase breather filter. A simple job and this guide makes it even easier. Hopefully it will also highlight the likelihood of other Esprits with broken mountings on their chargecoolers.
This job isn't difficult and will take you under an hour.
You will need the following parts:
New mounting bolt (if replacing)
You will need the following tools:
Cross blade screwdriver
13mm & 21mm spanner/sockets
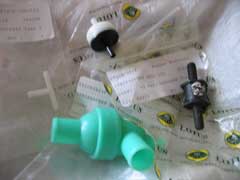
We ordered a new mounting bolt with the parts to replace for our crankcase breather filter. The bolt is expensive at about £15!
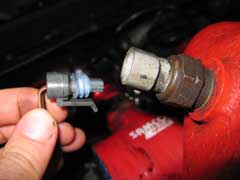
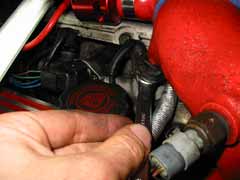
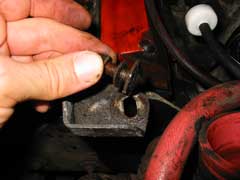
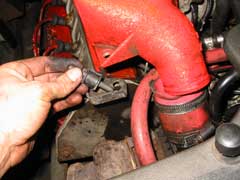
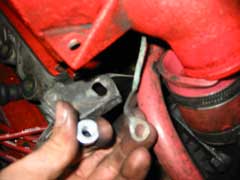
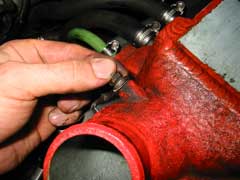
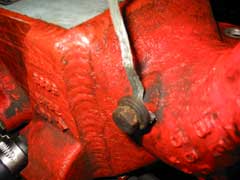
To remove the chargecooler, you need to remove the sensor at the back of the cooler. Then undo the mounting at the back of the cooler, this requires a 13mm + 21mm spanner (see below). At the front loosen the jubilee clip that connects the cooler to the turbo.
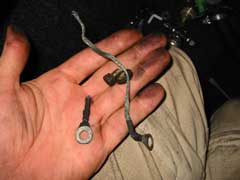
You can then remove the last bolt holding the chargecooler on. This was the broken one and was a pain to take off. The rubber had split in two, which meant we had to take both top and bottom pieces off.
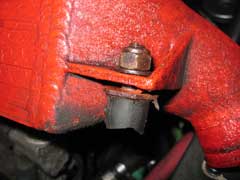
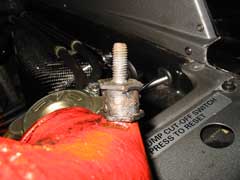
There is also an attachment under the bottom nut which attaches the mount to the cooler. Ours was broken! We fixed this at the same time as the mounting bolt.
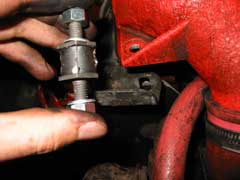
You can see for the picture above left, how the mounting bolt works. The rubber in the middle doesn't have the bolt going through it! Giving it some 'suspension' when holding the chargecooler to the engine.
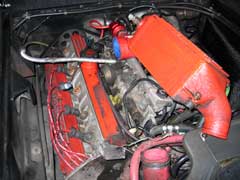
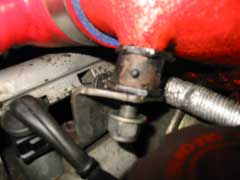
Once the fixings are removed you can simply (and carefully) lift the chargecooler off the top of the engine. Make sure no wires or cables are in the way. You don't need to drain the system and can leave everything attached. We now had to remove the broken bolt. As it was already broken we used some pilars to hold the rubber and undid the bolt.
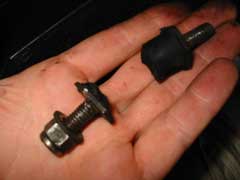
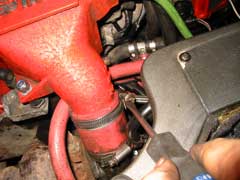
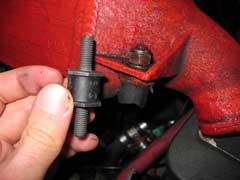
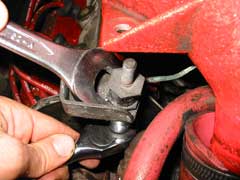
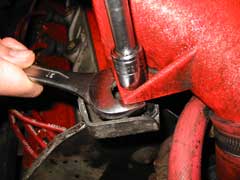
Removing the bottom part was a little more difficult. Using a 21mm spanner to hold onto the very thin head we managed to take the 13mm nut off and completely remove the bolt (see above middle). We now need to fit the new bolt and refit the chargecooler.
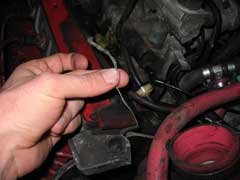
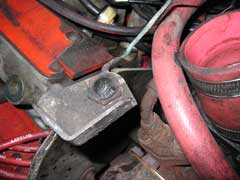
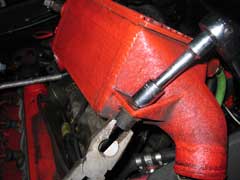
You need to fix the bottom nut to the bolt first and also fit the strap that connects to the chargecooler. Using the 21mm and 13mm spanners it's not too difficult working from the boot. You might need another pair of hands to hold the 21mm spanner as the angles can be a bit difficult. The strap fits underneath, with a washer between the connection and the nut.
Once the bolts fixed to the mounting, you can reconnect the strap to the Chargecooler. Ours was broken to see reattached it by wrapping it around the bolt and tightening it back in. Should hold it well enough now the chargecooler is being held in place properly.
To refit the chargecooler you'll need to line up both bolts with their mountings and the pipe with the inlet. This can be a little tricky, but it's not too difficult. Line up the bolts first and then the hose can be 'helped' into place. You can how tighten the nuts and secure the chargecooler back in place.
From Lotus
The Rubber Mounting was sent back to Lotus for evaluation – The rubber mounting has failed due to high cycle fatigue. It had come to the end of it's life. This part is subject to high vibration and movement. The movement is caused by the expansion of the exhaust manifold when red hot. The rubber has to cope with the position difference from hot to cold.LEW's Verdict
Removing the chargecooler isn't difficult with it only being held on by two nuts, a jubilee clip and a strap. All the hoses carrying the water can be left attached unless you're actually removing the chargecooler from the car. See our guide to installing an Electric Chargecooler pump for more help on that. We originally wanted to remove our chargecooler to replace a valve and filter on our crankcase breather hose and noticed the mounting was broken. So this guide turned into how to remove the chargecooler as well as how to replace the mounting bolt. It's worth checking your chargecooler mounting, as it's easy to fix and it's better than having your chargecooler moving around!
This maintenance was performed by LEW on their 1992 SE
If you have any comments, feel free to e-mail us at admin@lotusespritworld.com
![]()
|
|